Crafting the Perfect Peach Jam: A Step-by-Step Guide

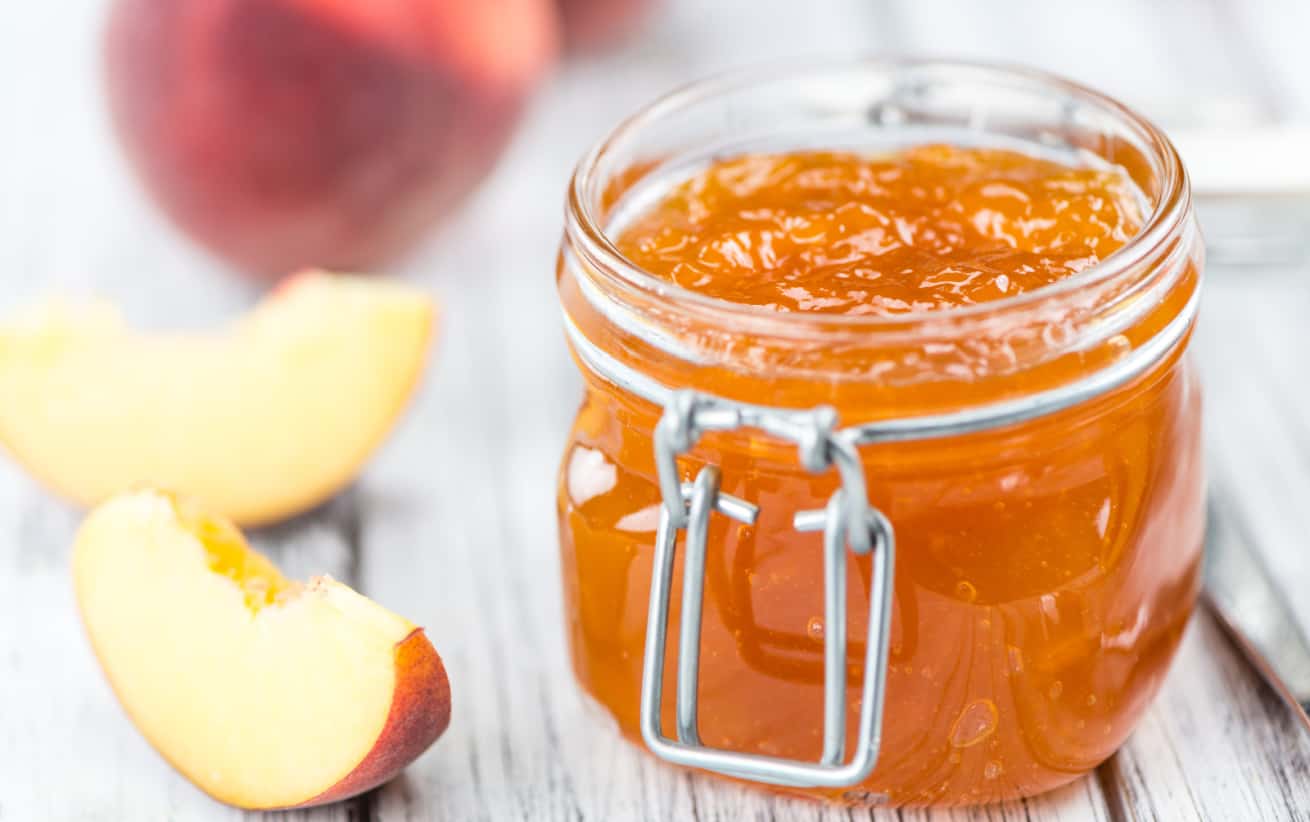
Introduction: Peach jam is a delightful spread enjoyed on toast, biscuits, or as a topping for desserts. Bursting with the sweet and juicy flavor of fresh peaches, homemade peach jam is a true delight. Follow this step-by-step guide to create your own batch of delicious peach jam that will brighten your breakfasts and snacks.
Ingredients:
- 2 pounds ripe peaches, peeled, pitted, and diced
- 2 cups granulated sugar
- 2 tablespoons fresh lemon juice
- 1 teaspoon lemon zest (optional)
Instructions:
-
Prepare the Peaches: Wash the peaches under cold water and peel them using a paring knife or a vegetable peeler. Cut the peaches in half, remove the pits, and dice the flesh into small pieces.
-
Combine Ingredients in a Saucepan: In a large saucepan, combine the diced peaches, granulated sugar, fresh lemon juice, and lemon zest (if using). Stir well to ensure the peaches are evenly coated with sugar.
-
Cook Over Medium Heat: Place the saucepan over medium heat and bring the mixture to a gentle boil, stirring occasionally. Allow the peaches to cook down and release their juices, about 10-15 minutes.
-
Simmer and Stir: Once the mixture reaches a boil, reduce the heat to low and let it simmer. Use a wooden spoon to stir the mixture occasionally, breaking up any large pieces of peaches.
-
Test for Gel Point: To test if the jam has reached the gel point, place a small plate in the freezer for a few minutes. Spoon a small amount of the hot jam onto the chilled plate and let it cool for a moment. Run your finger through the jam – if it wrinkles and holds its shape, it's ready. If not, continue cooking and repeat the test every few minutes.
-
Skim Foam (if necessary): As the jam cooks, you may notice foam forming on the surface. Skim off any foam with a spoon and discard it to achieve a clearer jam.
-
Prepare Jars: While the jam is cooking, sterilize your jars and lids by boiling them in hot water for a few minutes. Remove them from the water and let them air dry.
-
Fill Jars with Jam: Once the jam has reached the desired consistency and gel point, carefully ladle it into the sterilized jars, leaving about 1/4 inch of headspace at the top.
-
Seal Jars: Wipe the rims of the jars with a clean, damp cloth to remove any spills or residue. Place the lids on the jars and tighten them securely.
-
Process Jars (Optional): If you plan to store the jam for an extended period, you can process the jars in a boiling water bath for 10-15 minutes to create a vacuum seal. Otherwise, store the jars in the refrigerator once they have cooled to room temperature.
-
Enjoy: Once the jars have cooled completely, your peach jam is ready to enjoy! Spread it on toast, biscuits, or use it as a filling for cakes and pastries. Store any unopened jars in a cool, dark place for up to a year.
Conclusion: With this simple recipe, you can create your own batch of delicious peach jam at home. Experiment with different flavor variations by adding spices like cinnamon or nutmeg, or mix in other fruits like raspberries or blueberries for a unique twist. Enjoy the sweet and juicy flavor of homemade peach jam all year round!
- Hits: 35


